| Warlord Samurai | |
|---|---|
| |
| Boss Info | |
| Appearances | Commando 2 Commando Assault |
| Found in missions | Mission 4 (Easy) Mission 8 (Normal) Normal 12 (Hard) |
| Health | Sector 4 Sector 3 Sector 2 Warlord Samurai |
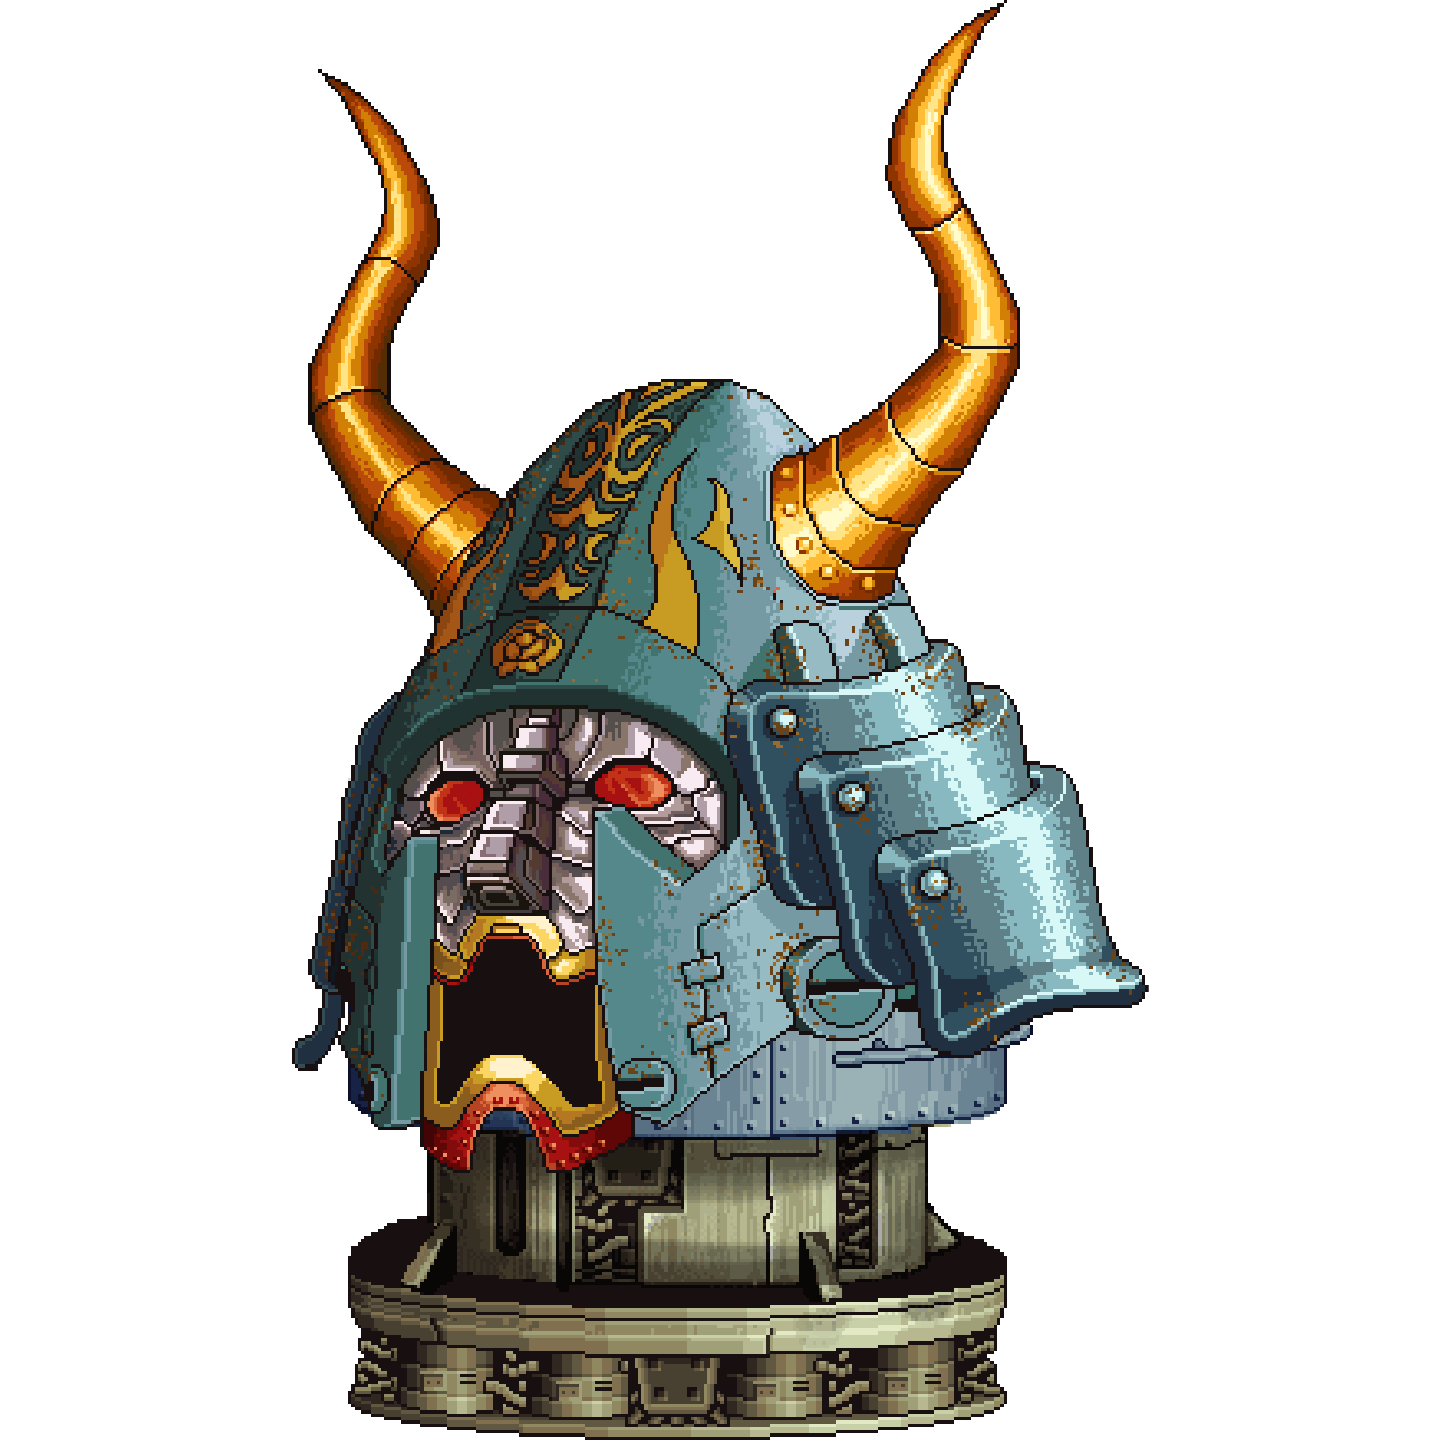
The Warlord Samurai is a boss in The Commando Series. It appears in the games Commando 2 and Commando Assault. In Commando 2, it serves as the final boss in each difficulty in Easy, Normal, and Hard.
Commando 2[]
The Warlord Samurai appears in Missions 4, 8, and 12 in Commando 2. It is installed at the top of a tall tower-like rocket which is divided into sectors that the player has to go through in order to reach the final boss. When destroying the boss in Missions 4, 8, and 12, an escape craft would get out of the tower-like rocket.
It shoots a blue laser ray and destroys the RX-09 when the player first comes to the last level of the rocket. The blue laser harms the player and cannot be dodged in any case, so the player must have enough health to endure fighting the head. The blue laser's damage is dependent on the difficulty. This boss can only shoot fireballs all around it. It is the final boss but is relatively weak compared to most other bosses, but the player is weakened because of the lower stages of the rocket.
The rocket[]
The rocket is the final boss of the game. It is made up of four sectors, by the following order (from the rocket's base to its top):
- A rocket dispenser and three Red Japanese. The rockets can be destroyed and dodged by jumping, but are protected by a cover at first. When the cover is destroyed, it will stop firing and you will be able to shoot the Red Japanese. When the cover is destroyed and the soldiers are killed, missiles will begin to fire again and you can destroy the stage.
- An officer and two Nazis manning a laser cannon with three pellet launchers behind it. The laser cannon cannot be dodged, so the player must destroy it as quickly as possible. The grenade launchers are nearly impossible to dodge, so it is advised you destroy them. All weapons on this stage are hard to dodge. When you first enter this stage, it is advised to destroy the laser cannon using the Ultimate Destruction technique. This should take a few seconds on easy. The pellet launcher at the very top of the sector cannot hit the Character if he/she gets up close to the sector. This could be used to take a break.
- Three rocket launchers and three torpedo launchers. The torpedoes are homing and can be dodged or destroyed, while the rockets will simply rain down on you. It is advised to shoot some to create a 'hole' in which the player can stay. Once all launchers are destroyed, the module falls, and reveals 4 dots that aim laser beams at the player while rapidly moving around the inside of the rocket. The dots should be struck with as much accuracy as possible in order to save ammo for the final boss. When all 4 dots are destroyed, you can destroy the stage.
- The head is the Warlord Samurai. It shoots fireballs in a circle that changes periodically. By this point, the ammo is almost depleted from every weapon besides the ones with infinite ammo. The girl Character takes out the head slightly faster than the boy Character when all ammo is gone.
The glitch[]
When using the RX-09 to confront the first sector, or any sector for that matter, there is a chance that when you get up close to a sector and fire at it, your character will fall off of the RX-09 to his/her death; giving up an attempt or more. Very demoralizing in Normal and Hard.
Notes[]
"Sector 5"[]
- The Warlord Samurai is arguably the hardest boss in the game, if fought in Normal for the first time. The reason for this is that, the weapons provided and unlocked to you in Normal do not do enough immediate damage to the vital parts of the 3rd and 2nd sectors, and Warlord Samurai's head. By the part where the 4 red dots come out, the ammo for the weapons are most likely already depleted enough and the red dots take the most damage from the P25-Maisto (the best weapon for the job that's unlocked at that point), which can miss and has very little ammo. Alternatively, one could forgo the P25-Maisto in exchange for usage of the C25 Marrugo and the DA Moonshadow. The weapons provided in Hard are ridiculously powerful enough to have a much easier time on all the sectors on Hard, including potentially a weapon previously seen in Normal.
- The pistol and the knife are the only things that you will have after unloading the rest of your ammo on the Warlord Samurai, so get comfy. Depending on how much ammo you saved, it could take you anywhere from a minute to several minutes to defeat the Warlord Samurai on Hard.
"Sector 1"[]
- Use the most powerful weapons available (Easy), DA Moonshadow (Normal and Hard), or Dragon Destructor (Hard) to kill the red-skinned Japanese soldiers quickly. If the DA Moonshadow is to be used here, one should be extremely careful of the missiles loading out prematurely into the process of killing the red-skinned Japanese soldiers, as the missiles can easily tear through the player's health very fast.
- The hardest part about this sector is taking out the sector itself. In order to conserve the most ammo, you will have to keep shooting at the sector with the Barreti, or, if you have space, then use the Desert Rat (Easy/Normal).
- The best reference point to jump is when the first missile is at the middle of the screen.
- It takes only 5 hits from the missiles to die on Hard; be very careful to not mess up the timing of the jumps.
- Health: 1,680 on Hard (shots from the Barreti).
"Sector 2"[]
- Use the Ultimate Destruction on the laser cannon because the laser cannon is unavoidable in the later Flash versions of the game, and you need health to take a hit on the final sector of the boss.
- On Hard, take out the bottom pellet cannon first because the effective range of the pellets on Hard make it so that the middle and top cannons cannot hit you if you crouch below them. On Easy, take out the top then middle pellet launcher.
"Sector 3"[]
- Use The Dragon Destructor, P25-Maisto, DA Moonshadow, Dominator, or Logan-35 (Easy and/or Normal); Pequeno-R25 (Hard) to take out most of the missile launchers.
- For the red dots, they are easily taken out with combination from the C25 Marrugo, Logan-35, and Dominator (for Normal). The Dragon Destructor makes short work of them as well (Hard). The P25-Maisto tends to be unreliable to use against the red dots due to the missile being medium sized.
- You must have enough health remaining after this point to survive the hit from the Warlord Samurai's laser mouth.
"Sector 4": Warlord Samurai[]
- Use all available ammo left, tank the Warlord Samurai's laser mouth, and use the Knife, Barreti (Easy/Normal/Hard), or Desert Rat (Normal; if enough space), to whittle down the Warlord Samurai's massive amount of health.
- The Warlord Samurai changes its shooting pattern often.
Trivia[]
- The Warlord Samurai is based on the Toschka Dalanue boss from Metal Slug 4.
- Of the five enemies riding in the Warlord Samurai, only the Kongfu warrior and the machine gunner survived, and the chinese traitor, the Karate Officer and the swordsman may have died or lost consciousness in the destruction of the rocket's head.
Commando Assault[]
In Commando Assault, the Warlord Samurai is used as a boss in Level 5. Only its head is featured there, and it hovers towards the character's base. It shoots large bullets in a circle, which do about 100 damage each, so it is advised to constantly move around in order to avoid being hit. The Warlord Samurai is classified as an aircraft enemy, meaning that only you, the barbettes, and the base can shoot at it.
Gallery[]
")
")
")
")
")
")
")
")
")
")
")
| Bosses | |
|---|---|
| Commando | Hell Bearer • Machinegun Robot • Doomtraxx • The Rebel Wall of Arms |
| Commando 2 | Sling Raider • Kongfu Warrior • Hell Bearer • Crabocolypse • Doomtraxx • Warlord Samurai |
| Commando Assault | Machinegun Robot • Doomtraxx • Sling Raider • Warlord Samurai • Armored Helicopter • Hell Bearer |
| Commando 3 | Armored Elephant • Kongfu Warrior • Pyramid Boss • Mechanical Underwater Dragon • Mecha-Samurai • Giant Robot • Mechanical Crab • Warlord Samurai 2.0 |